Have you ever encountered this?
Your image looks perfect on screen, even prints beautifully on the paper—but once you heat press it, the result is blurry, discolored, or doesn’t even transfer at all.
You’re not alone.
Over 70% of first-time users we work with have experienced poor sublimation results—not because the products are bad, but because one or more small technical steps went wrong.
This article will walk you through each of the common issues and show you exactly how to fix them, step by step.
Top Sublimation Printing Problems – Do You See Yours?
Here are the 8 most common sublimation transfer issues reported by customers, along with the causes and solutions.
| Issue # | Symptom | Possible Causes |
|---|---|---|
| 01 | Blurry image | Low resolution, wrong settings, poor paper |
| 02 | Uneven colors / color shifts | Temperature, pressure, or ink problems |
| 03 | Image doesn’t transfer | Wrong ink or blank has no coating |
| 04 | Ghosting / shadow effect | Paper shifted during pressing |
| 05 | Text is mirrored incorrectly | Image was not flipped before printing |
| 06 | Paper sticks to the surface | Paper or temp issue |
| 07 | Faded after pressing | Poor ink or coating, UV issues |
| 08 | Edges didn’t transfer | Uneven surface or low pressure at the edges |
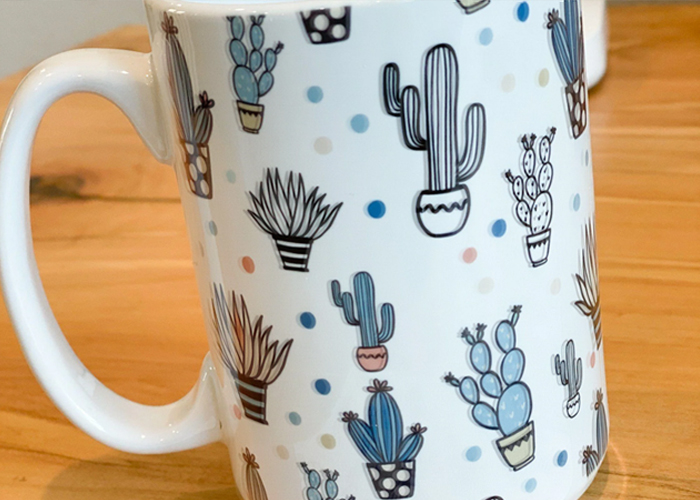
01. Blurry or Soft Image
What it looks like: Edges are fuzzy, text unreadable, image details lost
Causes:
- Low-resolution artwork (less than 300dpi)
- Printer set to “Draft” mode
- Ink bleeding due to over-saturation or slow-dry paper
- Clogged or uneven print heads
- Printer color setting issue
Fix it:
✅ Use high-resolution images (300dpi or higher)
✅ Set printer to “High Quality” or “Photo” mode
✅ Use sublimation-specific quick-dry paper
✅ Let ink dry completely before pressing
✅ Clean print heads regularly

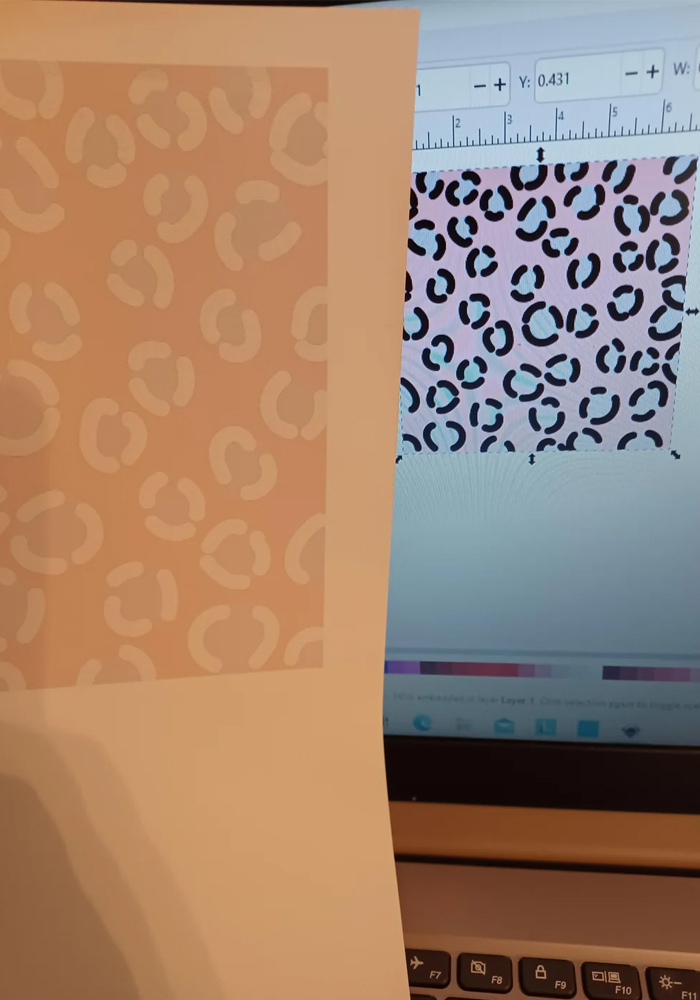

02. Uneven Colors / Color Shifts
What it looks like: Part of the image is faded, another part is too dark; colors don’t match design
Causes:
- Inconsistent heat or pressure during pressing
- Sublimation paper not lying flat or shifting
- Mixed brands of ink causing color imbalance
- Blank surface has poor coating or inconsistencies
Fix it:
✅ Use a heat press with stable, adjustable pressure
✅ Tape the sublimation paper securely to the blank
✅ Use the same brand of sublimation ink throughout
✅ Source blanks with tested, even sublimation coating (we offer samples)

03. Image Doesn’t Transfer at All
What it looks like: Print stays on the paper, hardly anything shows on the blank
Causes:
- Used regular dye ink instead of sublimation ink
- Blank does not have sublimation coating
- Temperature or pressing time too low
Fix it:
✅ Use only sublimation ink, not standard dye or pigment inks
✅ Always print on sublimation-coated blanks
✅ Press at ~190°C / 375°F for 120–180 seconds
✅ Preheat your press before starting

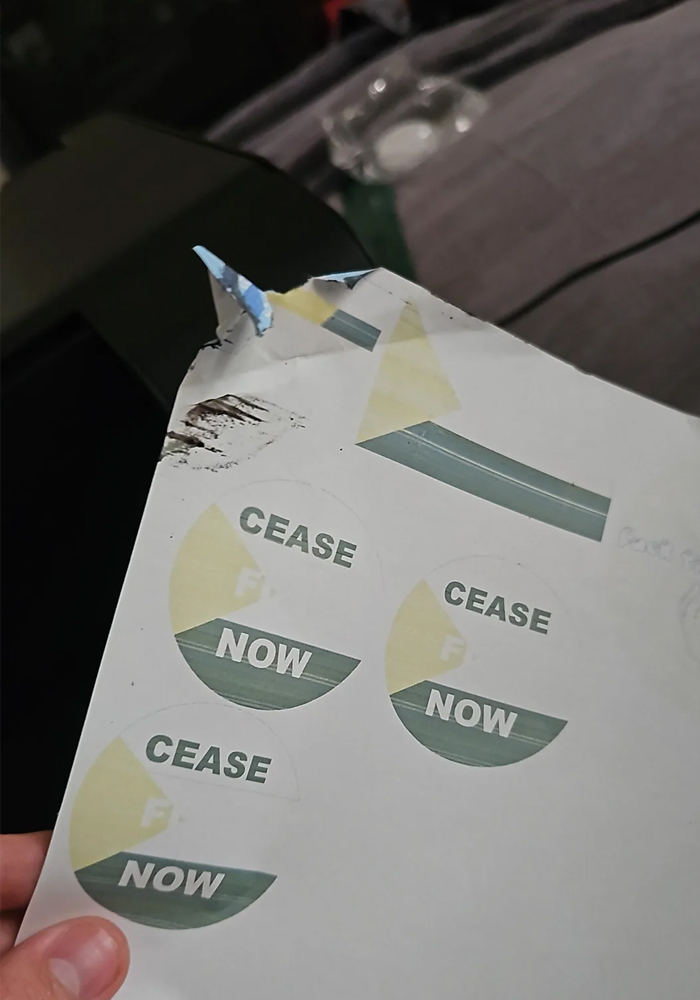
04. Ghosting or Double Images
What it looks like: Duplicate outlines or shadows around your image/text
Causes:
- Sublimation paper moved slightly during pressing
- Pressure too low, allowing paper to shift
- Design file had overlapping layers or effects
Fix it:
✅ Secure the paper with high-temp heat tape
✅ Apply even, firm pressure
✅ Flatten and export design as a raster image (PNG/JPEG) before printing
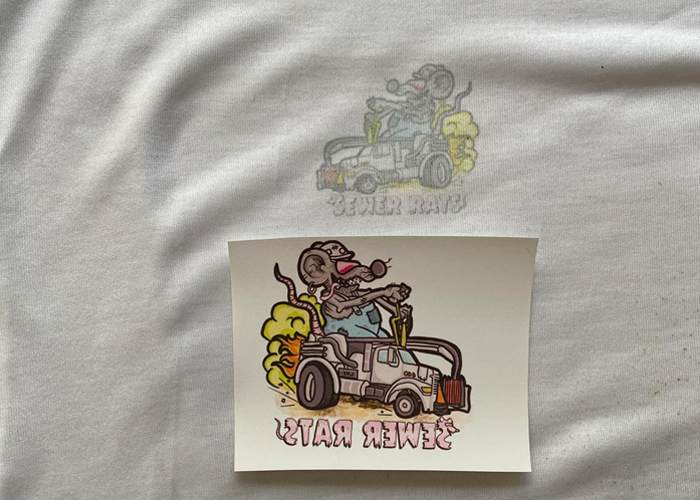
05. Backward Text or Logos
What it looks like: Final transfer is mirrored incorrectly
Cause:
Image was not mirrored before printing
Fix it:
✅ Always mirror your image before printing
✅ Use Photoshop or a RIP program (like Sawgrass Print Manager) that auto-mirrors designs

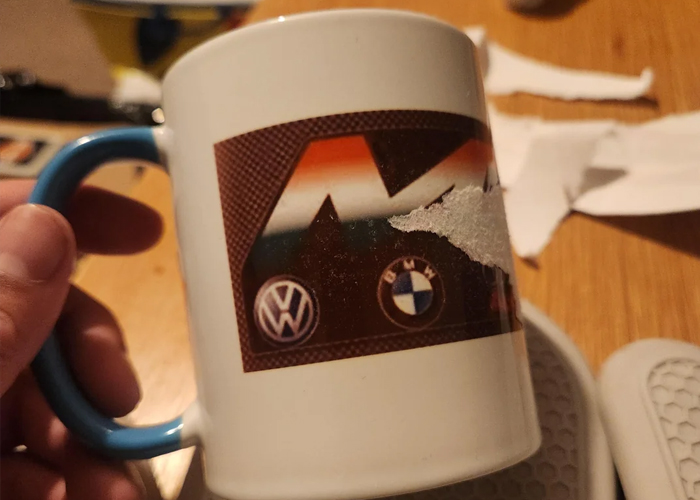
06. Paper Sticks to the Blank
What it looks like: Paper tears, leaves fiber or glue-like residue
Causes:
- Overheating during pressing
- Low-quality paper
- Product surface had moisture or oil
Fix it:
✅ Do not exceed recommended temperatures (190–200°C / 375–390°F)
✅ Use premium sublimation paper with anti-stick surface
✅ Clean blank surface before pressing (use alcohol wipes or lint-free cloth)
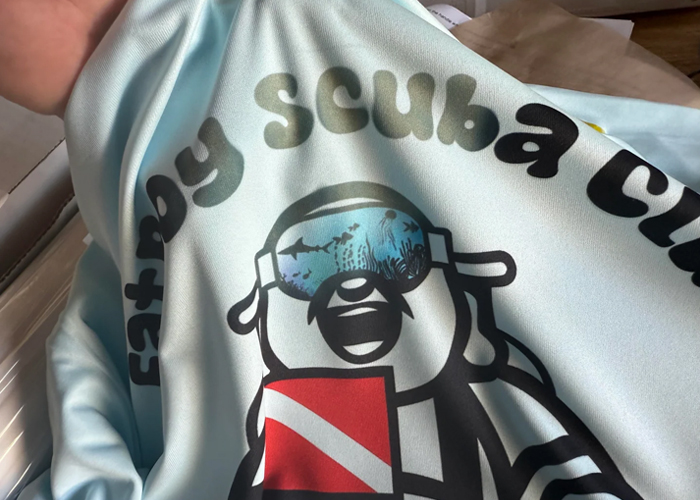
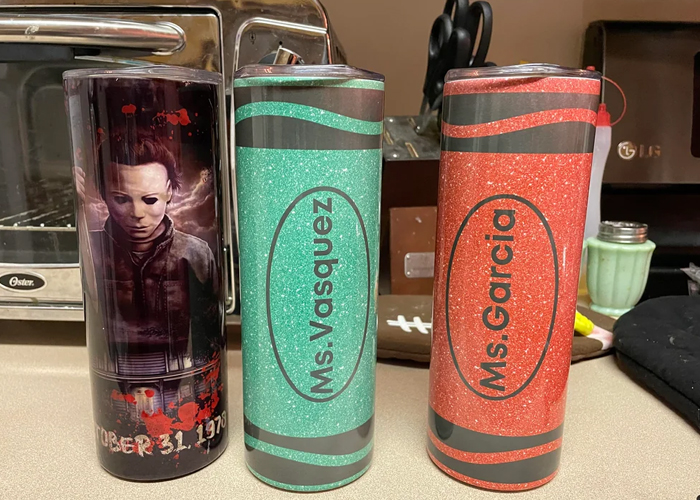
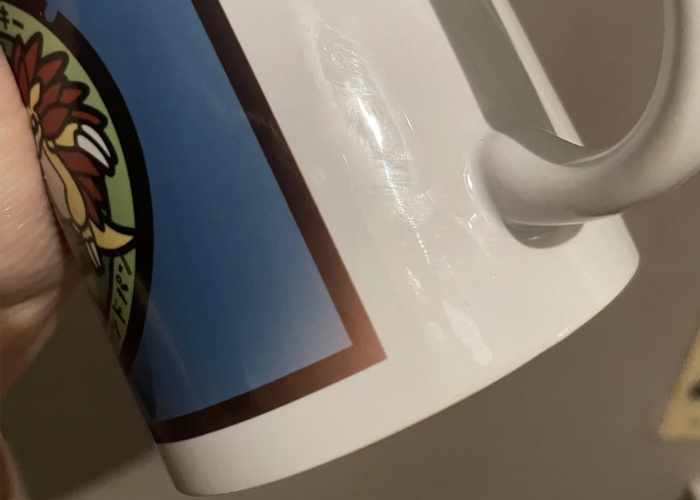
07. Faded or Yellowed After Transfer
What it looks like: Image fades within days or yellows over time
Causes:
- Ink not UV-resistant
- Poor-quality coating on blank
- Improper storage (sunlight, moisture)
Fix it:
✅ Choose UV-resistant sublimation inks
✅ Use trusted blanks with tested coatings (e.g. LeadSub, Sublistar)
✅ Store finished products in cool, dry place away from sunlight
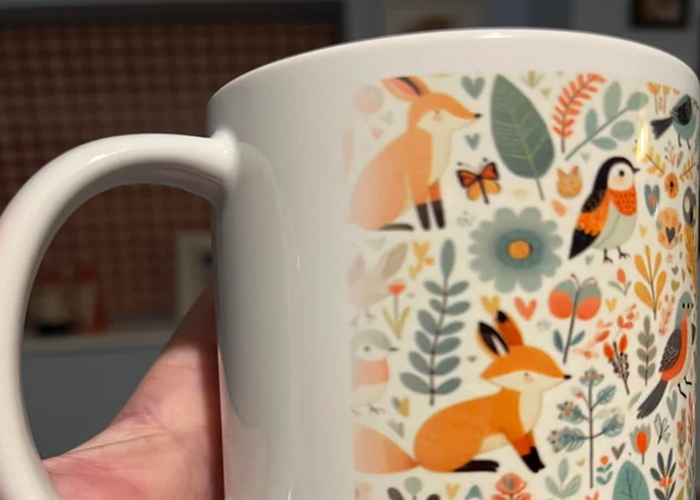
08. Edges Didn’t Transfer
What it looks like: Center of image is OK, but corners or edges look blank
Causes:
- Heat plate smaller than blank
- Uneven surface or blank not flat
- Paper not secured on corners
Fix it:
✅ Use a larger press plate to fully cover the product
✅ Use heat-resistant foam pad underneath or extend press time
✅ Tape all sides of the transfer paper securely
What You Can Do Right Now
🎯 Take action based on what matches your situation:
✔ Re-check your image resolution and mirror settings
✔ Switch to quality sublimation ink and paper
✔ Confirm time, temperature, and pressure settings
✔ Make sure you’re using sublimation blanks with coatings
✔ Follow the checklist like a manual—every step matters
📦 Need help getting started?
We offer:
✅ Sample packs
✅ Full transfer parameter guides (PDF)
✅ Video tutorials for pressing
✅ Amazon product examples and selling tips
Ready to start pressing perfectly?
👉 Message us for a free guide or personalized support.